All You Need To Know About RV Batteries & Inverters: DIY Solar Part 3

Let’s talk about the heart of an RV Solar System: RV Batteries and Inverters! Welcome to Part 3 in our 5 part series on how to design your own RV solar system. I’m calling this a Do It Yourself Solar series but my hope is that even if you have NO interest in doing it yourself, that this information will help you understand how an RV Solar setup works.
In Part 2 we talked about documenting your power consumption goals and using an online calculator to get a pretty good idea of the amount of equipment you will need to meet those goals. So now we can start talking about some of that equipment, the RV batteries and inverters!
We’d love it if you’d like to subscribe to us on YouTube also!
DISCLAIMER: Never Stop Adventuring contains links to affiliate websites and is a member of the Amazon Services LLC Associates Program. When you click on and/or make a purchase through an affiliate link placed on our website, we may receive a small commission or other form of compensation at no additional cost to you. Please read our disclaimer for more info.
Note: I’m not a professional. This is based on my experience with designing, installing, and using a large RV solar system on an American RV.
RV Batteries & Inverters Video Transcript
RV Solar System Design Series Part 3
Your RV batteries are probably the most important piece of the entire system. That’s where all your power is actually stored and, in most cases, they directly power your 12V system. They also power your inverter which powers your 120V system. Solar panels really just charge your RV batteries. Technically you CAN power things directly from solar panels but you’d always have to be sure you aren’t trying to use more power than your panels are bringing in. At a minimum that would cause your inverter to shut off or it could possibly damage some of your devices. Since your panels never bring in a constant amount of power because it’s always changing throughout the day, you really need batteries to supply a constant flow of energy. Not to mention when the sun isn’t shining at all!
Solar Power Calculators
You might have noticed that those Solar Power calculators we talked about in the last video will typically point you toward a large battery bank and a somewhat smaller sized solar array. The most cost effective solar setup has enough Watt Hours stored in the battery bank to supply all of your power needs overnight plus early in the day and later in the day when the sun isn’t intense enough to provide much power. Next, your solar array would IDEALLY bring in enough power when the sun is shining to again meet your needs, plus enough extra to recharge your battery bank through those peak sunlight hours. And, no more than that because when your RV batteries are full, your solar panels don’t do much!
If you play with the numbers on several of those different solar calculators that I mentioned in the last video, you’ll see most of them will give you slightly different results. But the system is always more heavily weighted toward a bigger battery bank than solar array. You really want a battery bank that can last more than a day. Because not everyday is going to be sunny. AND you won’t always be setup at the perfect angle for your solar panels to soak up maximum power.
Non-Ideal Solar Situations
A system that is sized straight from a calculator should account for a battery bank that lasts a while. But I find that they often don’t account for non-ideal solar situations. You’ll find that if you’ve had a cloudy day or two it might take several days to fully charge those batteries back to 100%. And, as long as you have enough power to do what you plan to do, a well sized system takes its time recharging the RV batteries so you’re getting the most work out of your solar panels. I’ll talk more about Solar Panel types, tilt angles, and the effects of weather in the next video!
Lead Acid Batteries & Depth of Discharge
Alright, now that we’ve covered why batteries are so important, let’s talk about different battery types and one last piece of terminology called Depth of Discharge. Unfortunately, it’s abbreviated DoD which can be a little weird since that’s also a government agency… Kinda like the abbreviation for our channel name… Yeah… Anyway, depth of discharge is important because not all battery types can be discharged all the way without doing some permanent harm to them.
In fact, you’ve probably heard this next part before. Lithium batteries have been available for RVs for quite some time now. And people have been singing their praises for years! Feel free to skip to the next chapter if you’ve heard this all before. But Lead acid batteries, those are AGMs, Gel, wet cell…there’s lots of different kinds, but the chemistry is the same. These are also those regular deep cycle batteries that RVs always come with. They can’t be discharged more than 50% of their rated capacity without doing some damage to them.
Lithium Batteries & Depth of Discharge
Lithium batteries, on the other hand, can be discharged almost all the way, without issue. I know some might debate that and say you should limit your depth of discharge to 80% or maybe 90% discharged. But all of the well-known brands of RV Lithium batteries, that I’m aware of, that you can buy off the shelf, have their own battery monitoring system built right in from the factory. To get the years of service out of their batteries that they’re advertising, the built in brains of that battery won’t let you drain it completely OR overcharge it. So I’d be completely comfortable with discharging RV Lithium batteries to their full rating – and I do with mine, occasionally.
Lithium batteries are pretty expensive. They are absolutely worth the price though. One of the reasons they are worth it is because they last a lot longer than lead acid batteries do. They’re also much lighter.
Peukert’s Law
Another thing is something called Peukert’s Law. This just says that the faster you draw on a lead acid battery, the more power it uses up ON TOP of what you are actually pulling out of it. So if you draw a very small amount of power over a long period of time you’ll get most of the 50% rating. If you try to draw a lot of power out of it, it’ll go MUCH MUCH faster than you would expect it to. To be completely fair, this happens a little bit with all batteries. But it’s much more pronounced with lead acid. And I don’t even notice it on our Lithium battery bank.
Implications On Lead Acid Batteries
Remember in the last video when gave that, sort of dramatic warning about buying some new AGM’s and trying to run your microwave off of them might make your Inverter shut off? That’s because of this issue. Drawing a large amount of power from a lead acid battery causes the voltage to sag really low. And that makes your inverter think something is wrong. So it shuts down to protect itself. They also take a lot longer to charge, so if you can’t tell, I REALLY like Lithium batteries.
All of that being said, you CAN make a decent battery bank with lead acid batteries depending on your setup. If you are making a small, inexpensive system or maybe even a medium sized one that isn’t going to put out major power, they can still be an option. Sometimes you can scoop up deep cycle batteries for free or on the cheap when others are trying to get rid of them. If you can handle the weight, they CAN still be a viable option. But I wouldn’t personally recommend them unless you really need to keep your upfront costs as low as possible.
I’m obviously kinda biased here. I’m emphasizing that because I just want to present an honest picture of what’s out there and what’s available. In fact, if you’re watching this and you have an RV Solar setup that uses lead acid batteries and you’re happy with it, I’d love to hear about your setup in the comments!
Lithium Battery Brands
More and more Lithium RV battery brands are appearing on the market. At this point in time I really haven’t heard of any issues with a particular brand. But I would really recommend sticking with well-known brands. I’m probably going to repeat this a lot over the next couple of videos in this series, but I strongly recommend you don’t buy knock off brands for any of your RV solar system components. Even a small setup has enough power in it to start a fire if something were to go wrong due to poor manufacturing. It’s really not worth the risk!
That being said, I HAVE seen systems based on used lithium battery banks from electric cars. I think the argument here is that if it was safe enough for an electric car then it would be safe enough for an RV. It’s a really cost effective way to get a lot of power storage and initially, I thought I would go this route for our setup.
Battery Management System
You need to be really careful though with having a properly set up battery management system. All of the major brands have this already built in to their batteries. It stops them from being overcharged and from being drained all the way to 0%, which hurts them. It also monitors the temperature of the battery so it can shut it off if it gets too hot. And it won’t allow it to charge if it’s too cold. A good, properly configured battery management system is a safeguard against a lot of these problems that can lead to a catastrophic failure that starts a fire.
So yeah, that’s kind of a big doom and gloom warning, but for our setup I sleep a lot better at night knowing that each of our Battle Born Batteries has a fair amount of protection already built in. No, I’m not saying those that use electric car batteries are going to burn their house down, but it didn’t feel like the right solution for us.
Alright, I know this is getting kind of long with the battery part and I haven’t even gotten to inverters yet. But there are still a few more points I want to make about batteries.
Drop In Replacement?
RV Lithium batteries are pretty much always marketed as a drop in replacement for your deep cycle batteries. Which is technically true, you can just do a direct swap and be on your merry way. They’ll probably charge slower than they should and if you are going to be RVing in cold temperatures you might consider moving your batteries to a warmer place in your RV. You shouldn’t charge lithium batteries if they’re below freezing and the battery management system likely won’t allow it. Our storage bay is heated by our propane furnace so that’s where I ended up putting our 6 batteries. Another option is to buy batteries with a heating system built into them. Or you can wrap them in some sort of battery warmer. But of course that uses more power.
The slow charging issue with just doing a drop in replacement is that lithium batteries have a different charging profile than lead acid. They like a little higher voltage and are capable of charging much faster. Your RV comes with a converter, or battery charger, doesn’t know that. Our original setup had a converter built into our breaker box from a company called Progressive Dynamics. It turns out they also make a converter that has a lithium battery charging profile built in that I could have bought. And it would have been an easy, plug and play affair. I’ve heard there are converters out there that have switches on the circuit board that can be changed to change the charging profile. But first you’ll have to physically locate your converter, and get the make and model of it to look up what it is and isn’t capable of.
Inverter With Built In Battery Charger
None of that is worth dealing with if you are going to buy an inverter that has a battery charger built into it. Which is the route I went. I just leave the breaker for the converter off now and removed the whole thing since now it’s just dead weight.
So we’ve talked about lead acid and lithium batteries, and it’s probably worth mentioning that other battery technologies are slowly emerging. But right now these two are the main players in the RV realm.
Battery Bank Voltage & Capacity
Next, let’s talk about battery bank voltage. The standard battery voltage is 12V. If you watched part 1 in this series you also know that that is actually a small range of voltages. The same holds true for this next part. They all actually have a small voltage range because battery voltage always changes a little bit depending on charge level.
24, 36, and 46V Systems
You may have heard references to a 24, 36, or 48V system. Some manufacturers sell batteries that already operate at these higher voltages. However, the most common way this is done is by wiring 12V, or sometimes even 6V batteries in series to get the voltage you want. 6V lead acid batteries have been available for a long time. And it’s been common practice to wire two of them in series to accommodate a 12V RV electrical system. A 24V battery bank can be made with 2 12V batteries wired in series. You can then add more sets of 2 12V batteries by wiring a 24V set of batteries to another 24V set in parallel.
You can create a lot of different combinations this way. The reason for doing this is for efficiency. An inverter that uses a 24 or 48V battery bank will be a little more efficient than one that runs on a 12V battery bank. This becomes a big deal if you want to run high power appliances like an air conditioner. Running a 1200W air conditioner through an inverter on a 12V battery bank might eat up an extra 100W or so due to that inefficiency.
Soft Start Devices
By the way, if you want to run an AC unit off of an inverter, you’re going to need some sort of soft start device for it.
Higher Voltage Battery Banks
Anyway, that extra 100W turns into heat. And it isn’t much fun to buy more solar panels just to create more heat on an already hot day. So a higher voltage battery bank is more efficient.
Remember in the first video when I mentioned amp hours and watt hours for measuring the storage capacity of batteries? Having a higher voltage battery bank makes this a little more interesting. It’s really common to just say – I have a 400 or 600AH battery bank. Since 12V is standard, the voltage of the battery bank sometimes isn’t even mentioned. But, a 100AH battery at 12V stores the same amount of energy as a 50AH battery at 24V. Or, a 400AH battery bank at 12V has the same storage capacity as a 100AH battery bank at 48V. Just keep that in mind. I personally think it’s easier to think about it in Watt Hours. A 400AH battery bank at 12V has 4800WH. A 100AH battery bank at 48V also has 4800WH.
Voltage Converters
If you want to go with a higher voltage battery bank for more efficiency, keep in mind that you WILL need a voltage converter to convert your battery bank voltage down to 12V for your 12V electrical system. Your lights, water pump, etc., are NOT going to like 24 or 48V, AT ALL!
The leveling system for our 5th wheel operates on 12V AND it says it can pull up to 90A. The voltage converters that I was finding weren’t rated for that high of amperage. So I would have had to wire in more than one. To keep it simpler I just stuck with a 12V battery bank for our setup. It was a compromise.
Inverters
So let’s talk more about Inverters! They are all sized in Watts. From a little 100-200W inverter you might see in a car or truck, to a 10000W inverter, or anything in between. If you did your power audit from part 2, you should have an idea as to what size you’re looking for. Again, I recommend against buying cheap knockoffs. I used Victron equipment and I’ve been really happy with it all. But there really are a BUNCH of good, reliable brands out there. It’s always worth reading the reviews though.
Next, you’ll have to decide how you are going to wire it in. And, another quick warning here, please hire a professional to do this for you if you aren’t 1000% confident that you can do your own wiring SAFELY.
Inverter Wiring Example, Single Circuit
I’ll talk about 4 different ways inverters are added to an RV. Again, the sky’s the limit, but here we go with 4 examples.
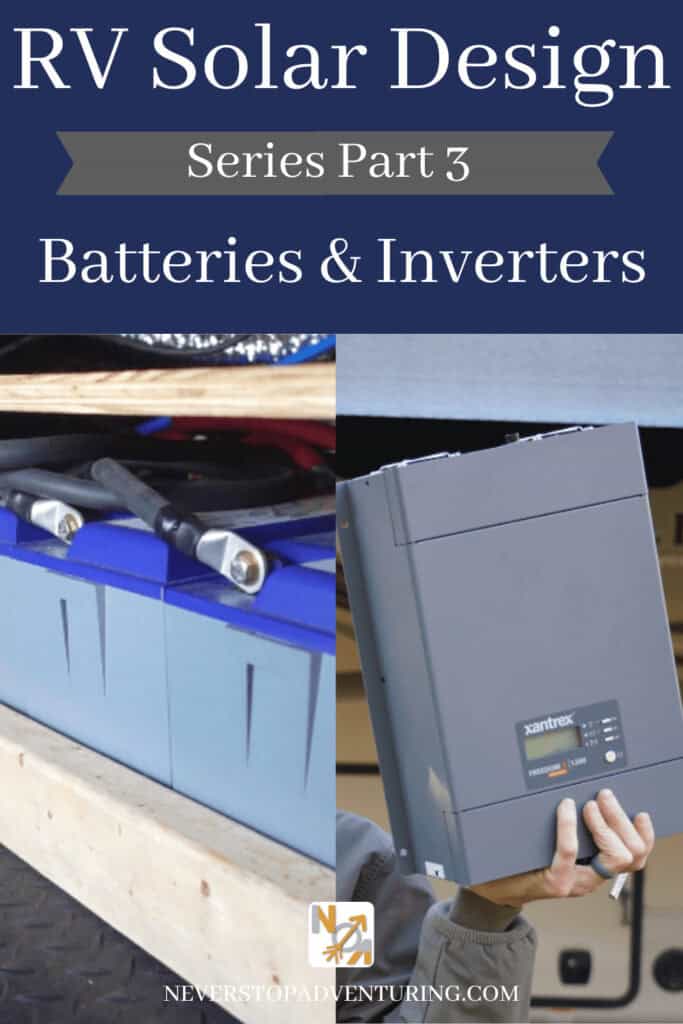
For starters, here’s a 1200W inverter made by Xantrex. This came with our RV to run our residential fridge from our RV batteries when we were traveling. Our fridge has about a 900W surge when it starts up, hence the 1200W power rating. This was wired in such a way that the incoming 120V from the campground would first go into it. And the output would then go to our fridge and a couple of electrical outlets. It has something inside of it called a transfer switch that just allows incoming power to pass right through it when it detects 120V on its input. There are several different settings. But the one I set it to most of the time allowed it to automatically switch over to powering the fridge via our battery bank if the power went out.
So, this is a good, simple option if you have one circuit you want to power off when you’re off grid. It doesn’t have to be a fridge. Especially if you have a 12V or propane fridge, you could use this setup to power the circuit that keeps your laptop and cell phone charged. You can also shut this off when you go to sleep to save power. Of course that’s not an option if it’s running your fridge.
Inverter Wiring Example, Multiple Circuits
Next, a slightly more complicated option is to wire in a sub panel. This is where your inverter supplies 120V power to a separate, usually smaller, breaker box. The sub panel then distributes power to what you want to run. I didn’t personally go this route. So I’m not going to speak more about the wiring of that setup. But it’s a great option and there is a ton of info about sub panels out there on the internet.
The next two options are on powering your whole RV. If you have a 30A connection this isn’t terribly complicated. If you have a 50A connection…we’ll talk about that next.
Inverter Wiring Example, 30A RV
To accomplish this with a 30A RV you’ll obviously want to choose an inverter that is big enough for your power needs. But is also similar to this one (our original Xantrex inverter) that has a transfer switch. Make sure in the specifications that the transfer switch is rated for at least 30A so it can handle the full load from a campground.
Next, it is just wired right in-line with your main 30A cord to your RV. Power goes in, and the output is then distributed everywhere through your breaker box. So when you’re at a campground the incoming power just passes through the transfer switch in your inverter before powering everything in your RV. When you’re away from the campground, the inverter is on. And it’s exactly the same except that you’re now drawing power from your RV batteries instead of the campground. Keep in mind that a 30A connection at a campground can supply you with about 3600W. You may have an inverter that is only capable of let’s say 2000W, or whatever you went with.
Inverter Wiring Example, 50A RV
To accomplish this same setup with a 50A RV, you will need two inverters. That’s because a 50A RV connection has two separate 120V lines that share both a return line and ground. Each side of this connection can supply 50A for a total of 100A together and a total wattage of 12,000W. It’s actually a little less than that. Because breakers are designed to pop a little before you reach that max current. But it’s close.
Anyway, we have two 3000W inverters. Each one of them has a transfer switch rated for 50A. So while the wiring is more complicated, it works in a similar fashion to the last scenario with a 30A RV. I do have to know what appliance runs on line 1 vs line 2. So I make sure I don’t try to use more than 3000W on one of those lines when I’m not plugged in to 50A power. Or I’ll overload an inverter.
Our Split Phase Configuration
The other interesting drawback to this setup also comes with a bonus, in a way… The only way my inverters work together when they’re semi-wired together like this, is to work in a split-phase configuration. Meaning that line 1 and line 2 still both operate at 60Hz, but slightly out of sync with each other. Which make absolutely no difference for powering appliances. But the inverters are now a little more picky about what kind of power they let in from a campground.
Drawbacks
I can no longer power both line 1 and line 2 from a 30A connection with an adapter. Now when I do that plug in to a 30A plug, my inverters only allow the incoming power to go to Line 1. Line 2 is then only powered by its inverter. Which means I still have to watch how much power I use through that inverter. And because both of my inverters also charge the battery bank when we’re on campground power, appliances on Line 2 will draw power on the batteries while the inverter for Line 1 recharges the battery bank.
Bonus
If that sounds a little goofy, it is. The bonus of being configured this way means that if we’re visiting friends or family and can plug into a 15A household socket, we can still use all of our appliances as long as we don’t overload an inverter. Then, if we’ve drawn the batteries down over the course of the day, we don’t use as much power overnight and the system can then recharge. It’s a nice way to be able to get more power out of a small connection.
One last thing I wanted to mention is to check the info that comes with your inverter. It’ll tell you what size of fuses to use and where they go in a schematic. For the next video, we’ll talk about types of Solar Panels, mounting, and making a plan for how it’ll all fit.
If you liked this post, would you share it with friends? Thank you!
Pin For Later: