How Many Solar Panels Do You Need For Your RV?
How many solar panels do you need? Let’s talk about different kinds, mounting, and where they’ll fit!
Welcome to Part 4 in our 5 part series on how to design your own RV solar system. Let’s get started! We just finished talking about the real heart of an RV solar setup. So now we need to keep those batteries charged.
We’d love it if you’d like to subscribe to us on YouTube also!
DISCLAIMER: This post may contain links to affiliate websites. When you click on and/or make a purchase through an affiliate link placed on our website, we may receive a small commission or other form of compensation at no additional cost to you. Please read our disclaimer for more info.
Note: I’m not a professional. This is based on my experience with designing, installing, and using a large RV solar system on an American RV.
RV Solar Panels Video Transcript:
Again, from the power audit and solar calculator you used back in part 2, you should have a decent idea as to what your total solar panel wattage is going to be. First, I’m going to talk about small setups. If this doesn’t apply to you then you might want to check out the time stamps in the description (table of contents) and skip ahead to the next chapter.
Portable Solar Panels
If your power needs are low and you want to keep it as simple as possible, it doesn’t get any easier than a portable setup. This is often 2 solar panels, sometimes up to 4 that you set up on a stand outside your RV or vehicle. That’s not to say that you couldn’t do more than that, but it starts to get a little unwieldy. Another thing to consider is that often times those with a small setup are also in a smaller RV or a van and don’t necessarily have a lot of storage space to keep them in when they aren’t deployed.
Kits With Stands
You can build your own stand. But honestly, there are so many portable solar kits available now with stands included that that’s what I would recommend. Many of them even come with a solar controller that’s paired with the panels to make it even easier. You pretty much just connect the kit to your battery, setup your panels, aim them at the sun and you’re all set. As the day progresses you move your panels a couple of times to follow the sun across the sky. I still really recommend having a battery monitor though. This is so you always know how much power you have on hand and when you may or may not need to conserve a little more.
Solar Generator Packages
Another option could be a Solar Generator package. Sometime they’re referred to as a portable power station. It’s one unit with a battery and inverter inside and a few solar panels to charge it. Of course, this doesn’t integrate with an RV. It’s a standalone unit that you plug your devices into.
One drawback to a portable setup is that they CAN be pretty easily stolen if you leave it out unattended. While I suppose anything is possible, roof mounting your solar panels mostly solves that problem. It’s also nice because a roof mounted system is always on and doesn’t need to be setup or put away unless you have a setup where you manually tilt them.
It’s pretty safe to say that roof mounting is the most popular option.
Weight
But, before we talk about different solar panels and the ways they are mounted, we should probably talk about weight. Especially if you are considering a large setup. Be aware of how much cargo carrying capacity your RV has and how much it weighs right now, when it’s fully loaded. Especially if you full time in it, because if it’s also your house, chances are you’re carrying quite a bit of stuff with you already. And you might not have as much capacity as you’d like. Keeping added weight down definitely played a big role when designing our system.
Flexible Solar Panels
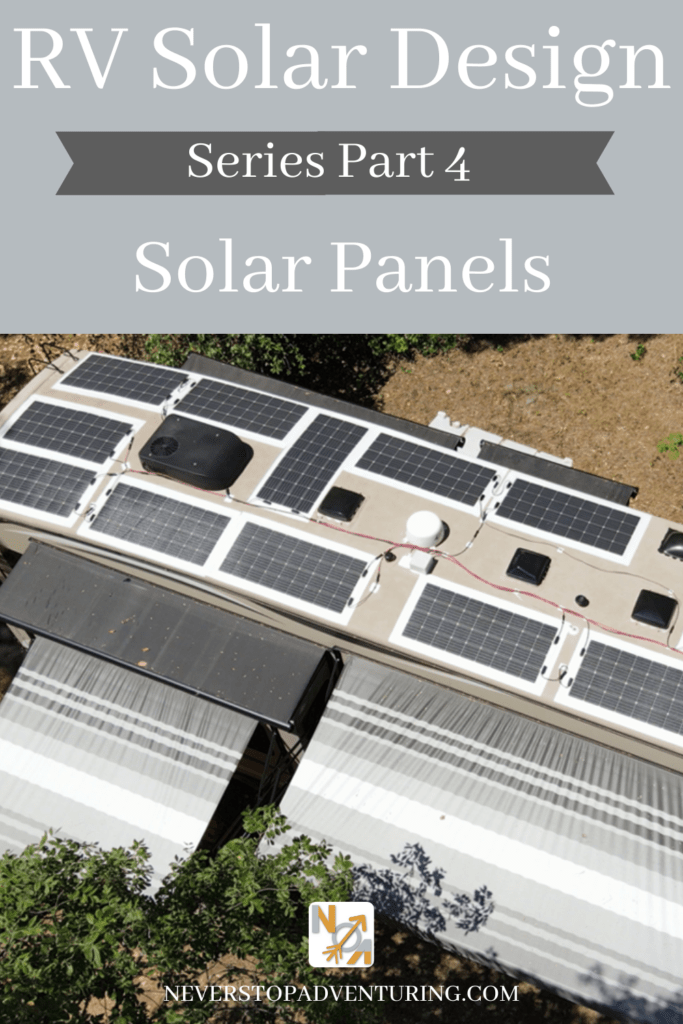
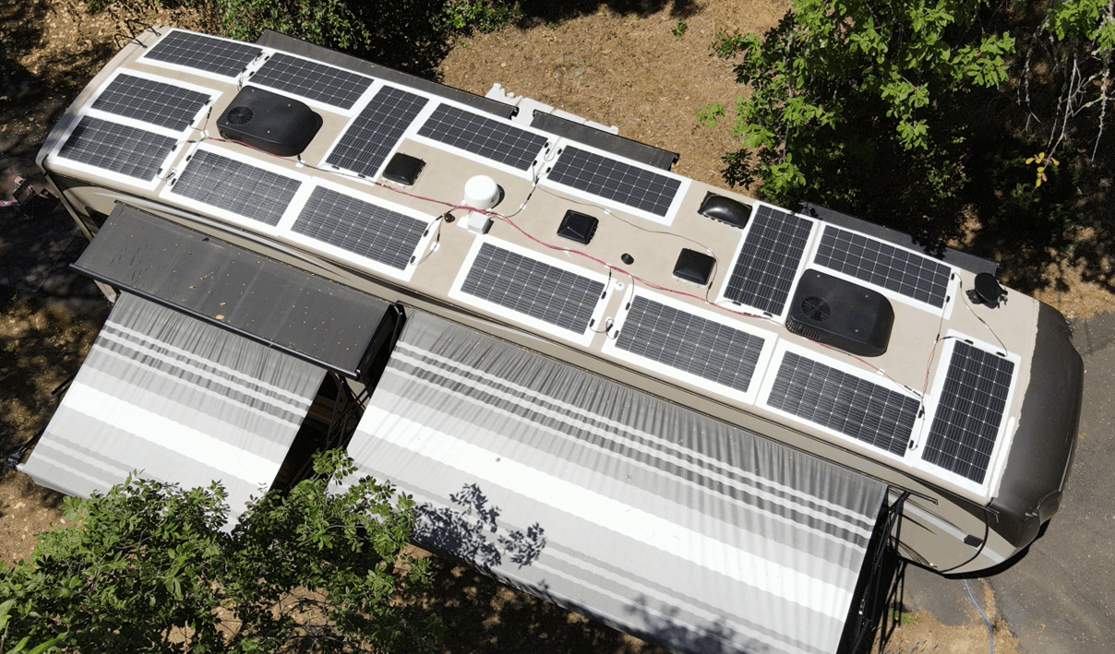
Flexible solar panels are definitely a lot lighter than rigid panels. Since I used all flexible panels, I’ll talk about those first. Mounting them was really easy. I just used 3 large Velcro strips underneath each panel to hold it in place. Then I put roof repair tape around all 4 edges. After a year and a half and even after a mishap with a tree and my front panel, I’m still really happy with this setup and I’d do it again.
How Hot Do Our Flexible Panels Get?
I’ve had a LOT of comments asking about how hot my panels get, if you should have some sort of air gap underneath them, and if I’ve had any issues with the heat on my rubber roof. My panels have held up well. I haven’t had any heat problems. And I’d still happily recommend the 175W Renogy flexible panels that I went with. They have a 25 year power output warranty. I think this is important because flexible panels in general haven’t always had the greatest track record with holding up over time. So far, my experience has been that these ones hold up just fine.
Other brands have been coming out with flexible solar panels that have an adhesive backing to them. They’re just peal and stick without any need to tape the edges, which looks pretty nice. I should add though that just because a solar panel is flexible doesn’t mean you shouldn’t still handle it carefully. They CAN flex unevenly when handled. And that can crack the actual solar cells in the panel and make the whole panel less effective overall.
Rigid Solar Panels
Moving on to rigid solar panels! If I wasn’t so worried about weight I would have bought rigid panels since they are less expensive. They also dissipate heat better. And due to the way they’re mounted, they pretty much always have at least a small gap underneath them. So that extra air flow helps reduce heat even more which means a little more efficiency on hot days.
Z Brackets
There are also a TON of different options for mounting them to your roof. One of the simplest ways is using Z brackets that bolt onto the frame of the panel and are then screwed into your roof. It should also be mentioned that anytime anything is screwed into your roof, it needs sealant to keep water out. Dicor self-leveling lap sealant might be the most well known kind and it’s what I would recommend. Z brackets keep the panel fairly close to your roof. So if there’s much of curvature to it, you’ll notice your panels will be slightly tilted along with that curve.
Rails
Another option is to mount a series of rails to your roof and then mount solar panels to the rails. Rails can even be raised so your panels can fit over the top of roof vents and sometimes even AC units. There’s also the option of using mounts that allow your panels to be tilted. Being able to tilt your panels makes a big difference in the amount of wattage you can bring down, especially in the winter time. These can be done manually when you get your RV setup at a campsite or there are even motorized mounts that can be wired in.
If you are only mounting a few panels on your roof and really need to get the most out of them, tilt mounts really are the way to go.
Again, there are a lot of options for mounting solar panels. Had I gone with rigid panels I WAS leaning toward using Z brackets because it didn’t seem too complicated. And as beneficial as tilting panels can be, I was looking for a hands-off system. Seeing as how I didn’t go this route though I can’t really speak from experience as to which mounting type is the best for rigid panels. So let’s move on to figuring out what you can actually fit on your roof and if that is going to meet your power goals.
How Many Solar Panels Will Fit?
For reference, our 5th Wheel is 40’ 7” long. There’s a front and rear cap to account for, 2 AC units and a number of vents. I was able to install 15 175W panels and there’s still plenty of room to walk around. The first step I suggest is just go up on your roof with a tape measure. Take a lot of a pictures, and do your best to sketch out a reasonably accurate map of your roof. Measure how large those blank roof spaces are. You have to figure out how to most efficiently work around roof vents, AC units, sometimes antennas, and even ladders can use up some of that precious space.
Be Aware Of Shadows
Next, take some more pictures of your roof at different times of day to see how long the shadows are from taller things like AC units. I did this in the summer time knowing the shadows in the winter would be a lot longer. I spaced my panels around the AC units as far away as I could. This keeps the AC unit shadow off of them in the summer. But go into it knowing that with all the items sticking out of an RV roof, there’s no perfect way to mount everything if your plan is to use all the space.
Also, if you are planning on tilting your roof panels, keep in mind the extra shadows that are going to be cast by solar panels that are standing up. You don’t want to have that extra power you’re gaining by tilting your panels negated by shadows that are then cast on other panels!
Check Solar Panel Physical Dimensions
If you already have some panels that you’d like to use in mind, find their physical dimensions. Then you can start playing with how many you can fit and what the best placement might be. Ideally you want them all to be exactly the same. Later you’ll have to decide what version of series and parallel wiring you’re going to use. Keeping them all the same provides maximum efficiency.
Or you might find that the panels you thought you wanted aren’t going to work because they’re too bulky. Or your roof vents are in all the wrong places to fit them. Naturally, none of us wants to spend more money than we have to. And it’s really common to say something like “I know I want 1200W and these 4 300W panels are the least expensive way to accomplish that.” Only to find out that a 300W panel is 5.5ft long by 3.25ft wide and you only have a big enough blank area on your roof for 1 of those.
Of course you could probably still use a raised rack to still mount 4 of those over the top of whatever is in the way. But, if you want them to all fit without doing that, you’ll have to consider some other panels. It helps to have a few different sizes of solar panels in mind, get their dimensions, and see how you can plot them out on that map you made of your roof.
Panel Positioning Mock-Up
You could also make a cardboard cutout the size of the panels you’re considering. Then lay it on your roof in different places to better visualize it. After I drew up a couple of different ideas on paper, I took my measuring tape and put blue painters tape all over my roof to represent where my panels would go. Try to keep in mind where the actual wiring connections are on your solar panels so you can also come up with a plan for where the wiring will go.
At this point you might have to ask: Does my roof space match my power goals? Having some kind of raised mounting platform usually provides enough space for just about any array. But, if you find yourself in my situation where you need to stick with lighter weight options that might not work. Let’s say you’ve maxed out your roof capacity but would still like to add another panel or two. You can always add a couple of portable panels to the mix. You can buy one or two more of the same panels that you’re using on your roof. Make or buy a stand. And then wire them into your solar controller in a similar fashion to what you’re using for your roof panels.
Adding 10-15% Extra Capacity
Now that you’ve figured out where to mount your solar panels, if you have room to spare and can afford it, I’d actually recommend upping your overall solar wattage by another 10 or 15%. I feel like the numbers that you get from most solar calculators don’t really account for less than ideal conditions. And a slightly larger solar array helps make up for that. While obviously there’s not much you can do about a cloudy day that reduces your wattage by half, you also don’t always have control over what angle to the sun you’re parked at. That’s where that extra 10-15% comes in.
Wiring
The next thing to consider is wiring. A solar controller is a battery charger that handles all of that solar wattage and converts it to the proper voltage for your batteries. Since battery voltage is almost always quite a bit lower than solar panel voltage, you want your solar controller to be close to your batteries. And that means usually means running wires through your roof down to where ever the heart of your system is.
Solar Pre-Wiring
A lot of RVs nowadays are coming with solar pre-wiring. This is a set of wires that’s already run through your roof and down to a battery bay, or somewhere. Mine was actually tied up in a loop behind the cargo bay wall. It’s helpful if it works out, but make sure you check how big the wires are. The ones that came with ours were 8GA which is only good for about 24 Amps and it wasn’t going to cut it for our setup.
For example, let’s say you’re using 6 200W panels that operate at 24V. Two of them are wired in series which are then wired in parallel to two other sets of 2 panels… At most that would be 48V because there are only two in series. Six 200W panels make a 1200W array and 1200W / 48V would be 25A which would be too much for 8 gauge wire. So preinstalled wiring is nice if it works out because it’ll save you a step. But make sure the wire it came with can handle the amps that you could be pushing through it.
If it’s too small, or you didn’t have solar pre-wiring to begin with, you’ll need to run some new wire through your roof. During our install I ran some large wire through my roof and installed a junction box over the top of it. This served as a good point for all of those solar panel wires to come together before attaching to the main wires that deliver that power down below to the solar controllers.
MC4 Connectors
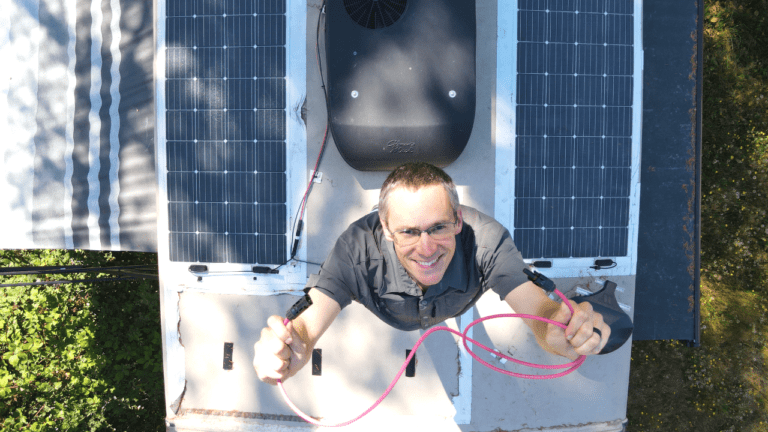
As far as the solar panel wiring itself goes, it’s most commonly connected with MC4 connectors. They’re waterproof and most panels come with them already attached. MC4 connectors aren’t expensive and they’re pretty easy to make. There are lots of other great videos out there on how to crimp them. If you aren’t in to that idea you CAN use waterproof splices to hardwire your panels. But make sure you have a way to install a fuse between each set of panels that are in series. I went with MC4 connectors and bought fuses with MC4 connectors on them that just plug right in.
At this point we need to choose a solar controller. We’ll talk about that in the next video/post, as well as how the whole system ties together and doing some testing.
If you liked this post, would you share it with friends? Thank you!
If you’d like to read about our RV and other RV adventures, then check out some of our other posts :
- How To Lose One Of Your 15 Solar Panels
- RV Solar System Installation Series // 7.2kWh Batteries & 6kW Inverter Upgrade
- RV Solar System Installation Series // 2625W of Solar
- Soft Starters For Your RV Air Conditioner, Why?
- RV Solar System Lessons Learned
- RV Tank Sensors Not Working? We Use An RV Water Flow Meter Instead!
- Portable RV Waste Tank, Freshwater Tank and Pumps
Pin For Later:
