RV Solar System Installation Series // 7.2kWh Batteries & 6kW Inverter Upgrade
Our first two years of full-time travel were spent mostly in RV parks. We had always planned to install some sort of RV solar setup, but the timing never really seemed right to take on a big project like that. After all, we were too busy traveling!
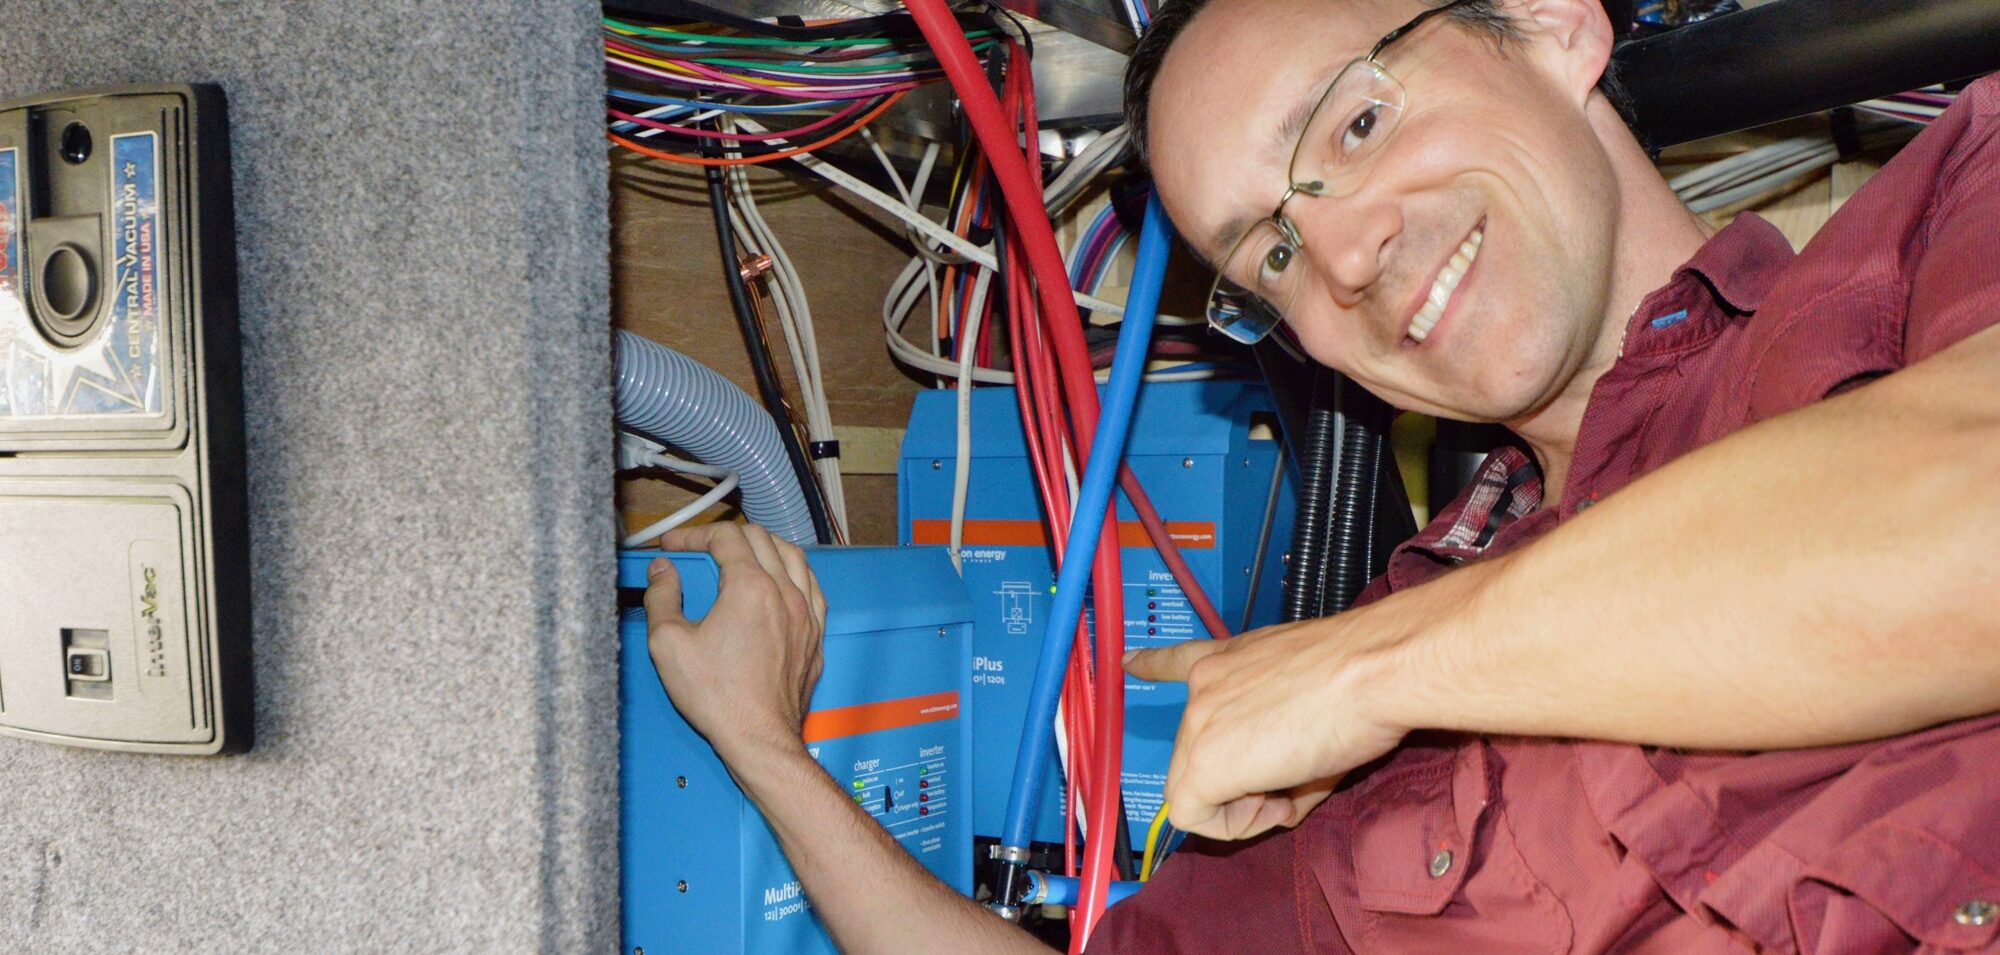
In early 2020, right as Covid-19 seemed to be coming to the US, we had an opportunity to participate in a group buy of Battle Born Batteries and went for it. So that’s how part 1 of this project got started, in which we installed a new Battle Born battery bank and inverters to kick-start our ability to go off-grid and lay the foundation for solar power.
Click the video below to see our installation of Batteries and Inverters and then keep reading for major equipment, general costs, and time involved.
DISCLAIMER: This post may contain links to affiliate websites. When you click on and/or make a purchase through an affiliate link placed on our website, we may receive a small commission or other form of compensation at no additional cost to you. Please read our disclaimer for more info.
System Specs
- 7.2kWh Lithium Batteries
- 2 3kW Inverters
Equipment and Total Cost
- 12V 100AH Battle Born Battery x6: https://amzn.to/2RY7854
- Victron Multiplus 12/3000/120-50 Inverter x2: https://amzn.to/2S1a0OD
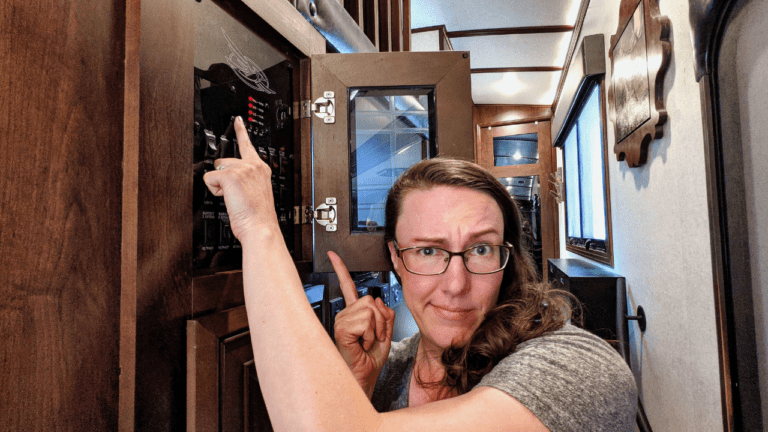
- Victron Color Control GX (Hallway Control Panel): https://amzn.to/3c6T8fY
- Victron BMV-700 Battery Monitor: https://amzn.to/3wMlioB
- Victron Data Cables (1 for each Inverter and 1 for the Battery Monitor): https://amzn.to/3vHk1io
- Victron USB to VE.bus Interface (used for programming/config.): https://amzn.to/2RQpzbZ
- Marine Grade Fuse Block (for inverters) x2: https://amzn.to/3vEqISw
- 400A Fuses (for inverters) x2: https://amzn.to/3c4E4zu
- 50’ of 6-3 NM-B Wire for AC side: https://amzn.to/3p50y95
- 50’ of black + 50’ of red 0000 wire: https://amzn.to/3vFoMcv
- Battery Bus Bars x2: https://amzn.to/2RSgFL4
- HD Battery Disconnect Switch: https://amzn.to/3vzBolg
- Wood, screws, cable lugs, wire connectors, and shrink wrap from the local hardware store
By the time were finished in early 2020, we had spent just over $9400.
Time Involved
I have no doubt that this would have been completed much faster if it had been installed professionally. However, I mostly was only able to work on this at night or on weekends. Here’s a rough breakout of time involved:
- 3-4 days planning, ordering parts, visiting the local hardware store.
- 1 week building the battery box and cables, then installing the batteries and monitor.
- 1 week installing inverters and running all the cabling for them.
- 2-3 days for installing the control panel, data cables, and system configuration.
Total: 3 weeks
Battery Voltage
12V or 24V? Why not 48V? A high wattage system will definitely be more efficient with a higher battery voltage. However, if you go higher than 12V, you will need some sort of converter to supply 12V to your lights, water pump, furnace, etc. Ultimately, I got hung up on the fact that our leveling system claims it can pull up to 90A. That would have meant multiple converters and a lot more wiring. Thus, we have a 12V battery bank.
What other questions do you have about part 1 of our RV solar system installation battery and inverter upgrade that we didn’t cover in the video? Please let us know so that we can answer them for you!
Be sure to subscribe and hit the notification bell over on our YouTube channel so you don’t miss Part 2 of the RV solar system installation series where we install 15 Renogy Solar Panels, 3 Victron Solar Controllers, and all the other necessary components and wiring to complete our RV solar system installation.
If you liked this post, would you share it with friends? Thank you!
If you’d like to see our RV tour or read more about the buying and inspection process for our truck and RV and other RV related features, then check out some of our other posts:
- RV Solar System Lessons Learned
- RV Solar System Installation Series // 2625W of Solar for Off-Grid Boondocking with Air Conditioning
- RV TOUR // Full Time Family of 4 // Living in a Jayco Pinnacle 37MDQS
- Purchasing our Jayco Fifth Wheel
- RV Office Setup and Connectivity
- RV Dishwasher Installation
Pin For Later:
