How Your Whole RV Solar System Ties Together: RV Solar Testing & Important Reminders
In this post we’ll talk about how your whole RV solar system ties together. We’ll talk solar controllers, several smaller items that you definitely don’t want to forget, as well as RV solar testing, and getting to know your completed RV solar system!
Welcome to the final installment of our Design Your Own RV Solar System Series! We just went over different types of solar panels and mounting. Now we need to choose an appropriate solar controller to translate what is coming in from your solar panels to what your batteries need.
We’d love it if you’d like to subscribe to us on YouTube also!
DISCLAIMER: This post may contain links to affiliate websites. When you click on and/or make a purchase through an affiliate link placed on our website, we may receive a small commission or other form of compensation at no additional cost to you. Please read our disclaimer for more info.
Note: I’m not a professional. This is based on my experience with designing, installing, and using a large RV solar system on an American RV.
RV Solar System Video Transcript:
Solar Controllers Explained
PWM vs MPPT
There are two kinds of solar controllers. Pulse width modulation, or PWM, and maximum power point tracking, or MPPT. MPPT solar controllers are newer technology, a little more expensive, but also more efficient. The efficiency here is actually a pretty big deal, which is why I’d almost always recommend MPPT controllers. Depending on conditions we’re talking between 5 and 20% more efficiency.
If you do the math, you’ll see that PWM controllers really aren’t worthwhile at all unless you are building a fairly small setup. If we are talking a small setup, a PWM controller might be in the $20-$30 range while a roughly equivalent MPPT controller might be more like $80-$90. That’s not a drastic cost difference in the overall scheme of things. And with the difference in efficiency, your solar setup doesn’t have to be real big before the type of solar controller you’re using makes a big difference.
To better explain the differences between these controller types, I’ll go into the technical details a little further. You lose some efficiency when you connect two circuits together that don’t really match. If you’re familiar with speakers and amplifiers, you’ll know what I mean. You want to make sure that your amp has the same impedance as your speaker. If they’re the same, you get maximum power transfer between them. It’s similar with solar controllers and solar panels.
MPPT controllers have sensing circuits built in to them and can track with your solar array as the impedance changes with solar conditions and different temperatures. PWM controllers are fixed and that’s why MPPT controllers are more efficient.
Although this doesn’t really hold true with really low power arrays. PWM controllers are probably the way to go if your total solar wattage is under 200W.
Reviewing Spec Sheets
Once again I recommend choosing a known brand when you buy a solar controller. You’re also really going to need to dig into the spec sheets for these when you find one you like. Pay attention to the maximum input voltage. For example, let’s say you have some larger panels that operate at up to 33V and your solar controller’s maximum input voltage is 80V. You’ll know right off the bat that you can’t wire more than 2 of your panels in series to that controller.
Also pay attention to how much total wattage they can handle. The solar controllers I’m using can handle a whopping 5800W of solar each IF they’re charging a 48V battery bank. Since I’m using a 12V system they’re only good for 1400W each. Since I have just over 2600W of panels, I definitely needed more than one. And I actually went with 3 of them so I’d have room to expand and they don’t get quite as hot. Which is definitely overkill.
So this is another instance of where you’ll get to play the game of what can I get the best deal on and still have all my specs match up? Fewer solar controllers isn’t necessarily better either. If you have 8 panels and you’ve found an amazing deal on a quality solar controller that can only handle two of those panels, 4 solar controllers isn’t a bad thing. Of course, you will have to run more wiring for all of that.
Series Parallel Wiring
The specs on your solar controller might also play into what combination of series and/or parallel wiring you decide to go with for your solar panels. As a quick recap, solar panels wired in series will add their voltages together. When they’re wired in parallel, you add their current together. My 175W panels operate at a max of about 20V and about 9A. I’m just rounding up here for simplicity. So two of these in series would give you 9A at 40V. 2 panels in series wired in parallel to another 2 panels in series would give you 18A at 40V. If you just wired all 4 panels in series together, you’d have 9A at 80V.
In ideal conditions that higher voltage with lower current would be the most efficient way to wire these 4 panels. The problem here is that you want your system to have some tolerance for being partially shaded too. If one or two of those panels has a shadow cast across it it’s going to drag down all the other panels that are wired in series with it. If you’re parked somewhere that’s pretty clear but by early afternoon there’s one tree that throws a shadow across the back end of your RV, the other panels that are wired in series with that shaded section will have to overcome the added resistance of the panel that isn’t helping out much anymore.
This is why it’s best to split up your panels into a series/parallel configuration. If you had these 4 panels with 2 in series and the other two in parallel with it and a shadow is cast across one or two panels at one end, the other two panels that are in parallel with the shaded panels will be unaffected and still bring in power.
There are a lot of questions out there on forums and social media groups about series/parallel wiring. People want to know what the best way to wire up their panels is and I really think the answer to this question is that there just is no best way. Think of it as solving a puzzle with multiple ways to get the right answer. Do you have a lot of panels? Split them up into equal groups where the ones in series are next to each other. That’ll give you some tolerance for partial shade conditions. Next, make sure that your groups of panels are feeding power to your solar controller, or multiple controllers, within the specs for each controller. That’s pretty much it. It’s not worth overthinking it that much.
Things You Shouldn’t Forget
At this point we’re getting near the end of designing a solar system. But, there are a few more odds and ends that are actually really important and you don’t want to forget them!
Fuses
First, let’s talk about fuses again. Each inverter and solar controller need fuses in line with where they connect to your batteries. This is just a basic safety thing. If something were to go really wrong with one of these devices, a properly sized fuse is what’s going to stop it from starting a fire. All of these devices should have info on the proper fuse size and location in the manual or install guide.
Solar panels should also have fuses in each string of panels that are wired in series. The spec sheet for our 175W panels says they have a maximum fuse rating of 15A. So each set of our panels that are in series have a 15A fuse.
Battery Kill Switch
Another really important item is a battery kill switch. These are big, beefy switches that are made to handle a huge amount of current. The one in our setup is rated for 600A! Not only is it an easy way to disconnect your battery bank and shut off 12V power when you need to, but it’s also another safety item. If there’s an electrical problem you want to be able to shut things down fast and not have to dig out a wrench to start disconnecting batteries.
Wire Sizing
Make sure you double and triple check all of your wire sizes! You should know what the max current is going to be from your solar panels and choose a wire gauge that can handle a bit more than that. You might have smaller wires going to each of your batteries from a bus bar, but a 3000W inverter on a 12V system can pull at least 250A and you’re probably going to want the biggest wire you can get for that! Also, for those sections with really big current like that, it helps to keep those wires as short as possible!
Battery Isolator
Next, do you have a motorhome or a van? If so you might want to check if your house batteries are connected in any way to the battery for your motor. There should at least be an isolator that keeps your house batteries separate from your automotive battery or batteries. I’m in a 5th wheel so this wasn’t something I had to deal with. It is however worth mentioning that you can have a DC to DC charger that allows the alternator from your engine to charge your house batteries when your engine is running.
An isolator sort of works like a one way valve that allows charge to flow to your house batteries from your alternator, but otherwise keeps the two systems separated electrically. Especially in the small RV or Van world, this is a nice way to get away with a smaller solar setup due to a lack of roof space. Since a Van or small RV is often not just your living quarters but also your transportation, it’s helpful to be able to recharge your house batteries while driving around.
Infrared Thermometer
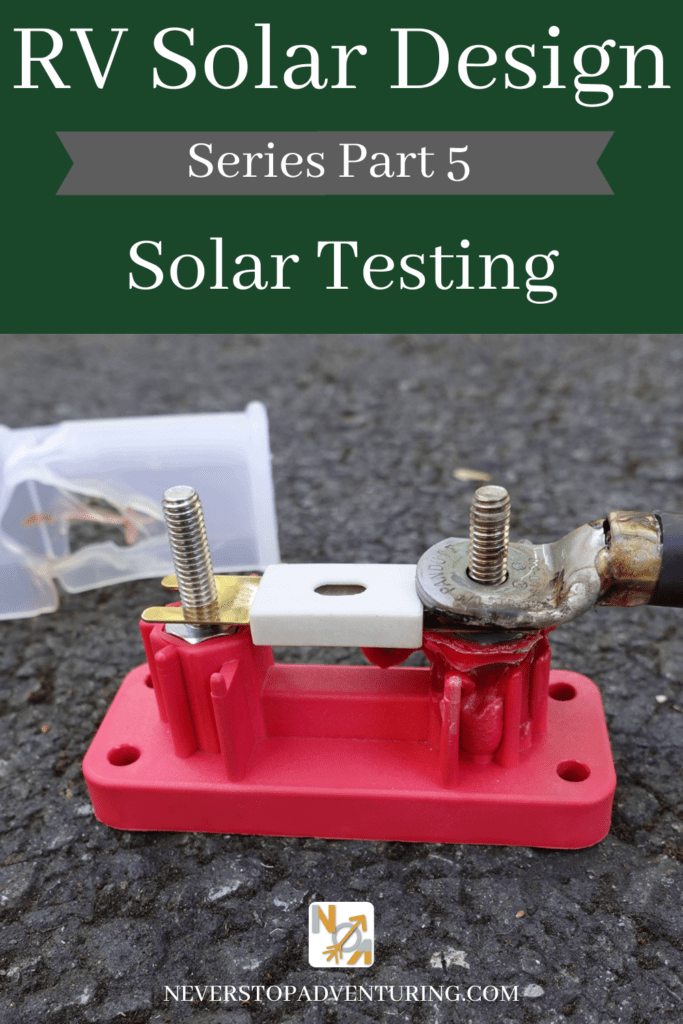
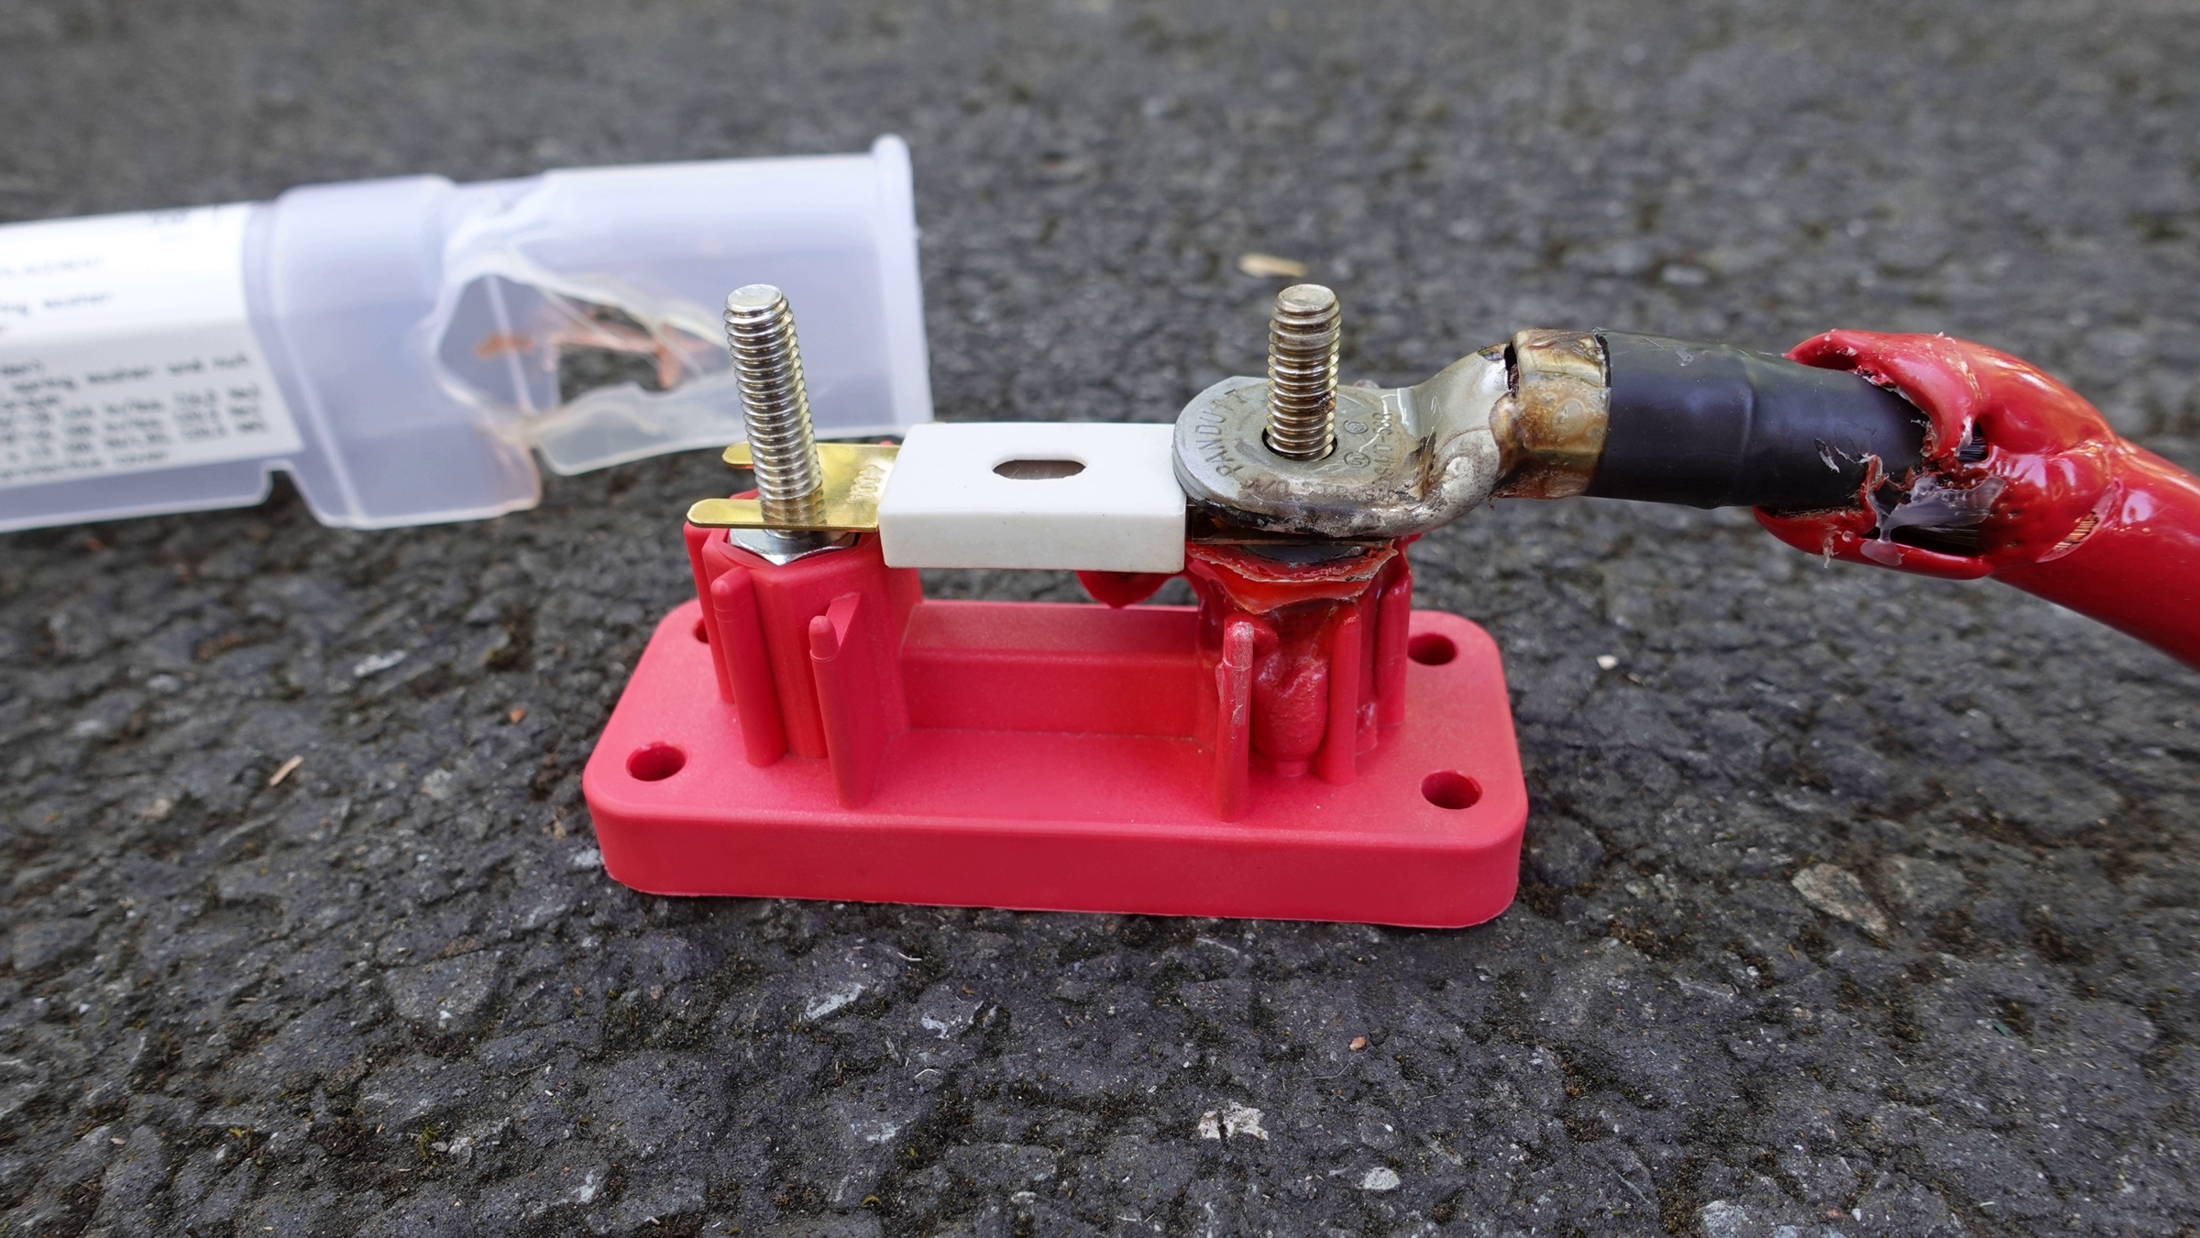
One last thing I’d like to mention while we’re talking about things you shouldn’t forget, an infrared thermometer is super helpful. You can use it to see how hot your solar panels are getting and as you go into testing your completed setup. You can use this to see if an inverter or solar controller are getting too hot. And you can also use it to check that some of those high current wire connections aren’t going to burn your hand. I actually had a fuse holder that was getting super hot and this saved me from burning my hand pretty bad on it. It turned out the original fuse holders I had for my inverters couldn’t actually handle the current that was going through them even though the manufacturer claimed they could. So definitely size up your components to more than the minimums of what’s required.
Solar System Testing
This also leads us into why it is SO important to spend time testing your completed setup! Just like you would PROBABLY want to go on a couple of shake down trips with a new RV. I would at least spend an afternoon monitoring everything when it’s complete. Use your thermometer, make sure nothing’s getting too hot. Once everything looks good you should load test your inverter. This will be pretty easy if you have a smaller setup. Just plug in whatever you plan to run and let it go for a while. Watch for anything that gets too hot.
For a bigger inverter, start half way or so and build up. To test my 3000W inverters I started with a bowl of water in the microwave and ran it for a few minutes. That’s a 1500W load. Running a 1200W AC unit with a 1500W water heater for 20 minutes was how I discovered that issue with the fuse holder. Test everything until it’s good and boring! You REALLY don’t want anything exciting happening with a power system!
The next step is to go out into the wild with it. Once you’ve moved everything down the road it doesn’t hurt to just go through and make sure all of your connections are still nice and tight. The first night should be pretty smooth since you’ll be showing up at your destination with full batteries. You’ll start to really get to know how it all works together over the next couple of days as you see what it looks like at peak sunlight hours and how it tapers off in the late afternoon. I’d also say don’t expect to see your maximum rated wattage during those peak hours. Solar panels get their ratings in a lab at a specific temperature and the real world has a lot more variables.
Hopefully this series has given you some helpful information. Again, I’m not a professional. This is based off of my experience designing and installing our system. If there’s any part of this that you aren’t confident in doing yourself, take it to a professional! Also don’t be afraid to start small. But definitely have a plan in mind for your end goal so you can buy it in parts. We actually waited a couple of months after installing our batteries and inverters before adding solar panels. As always, feel free to ask questions in the comments. Thanks for watching and we’ll see you on the next adventure!
If you liked this post, would you share it with friends? Thank you!
If you’d like to read about our RV and other RV adventures, then check out some of our other posts :
- How To Lose One Of Your 15 Solar Panels
- RV Solar System Installation Series // 7.2kWh Batteries & 6kW Inverter Upgrade
- RV Solar System Installation Series // 2625W of Solar
- Soft Starters For Your RV Air Conditioner, Why?
- RV Solar System Lessons Learned
- RV Tank Sensors Not Working? We Use An RV Water Flow Meter Instead!
- Portable RV Waste Tank, Freshwater Tank and Pumps
Pin For Later:
